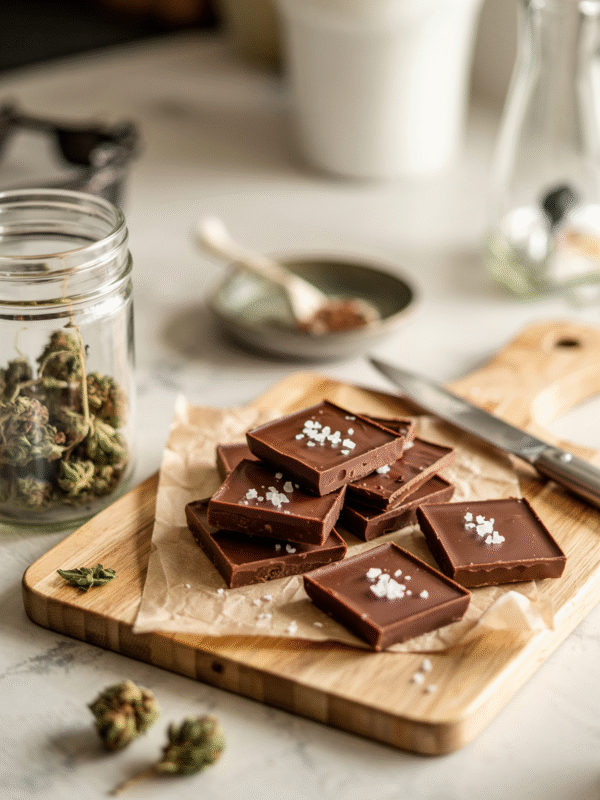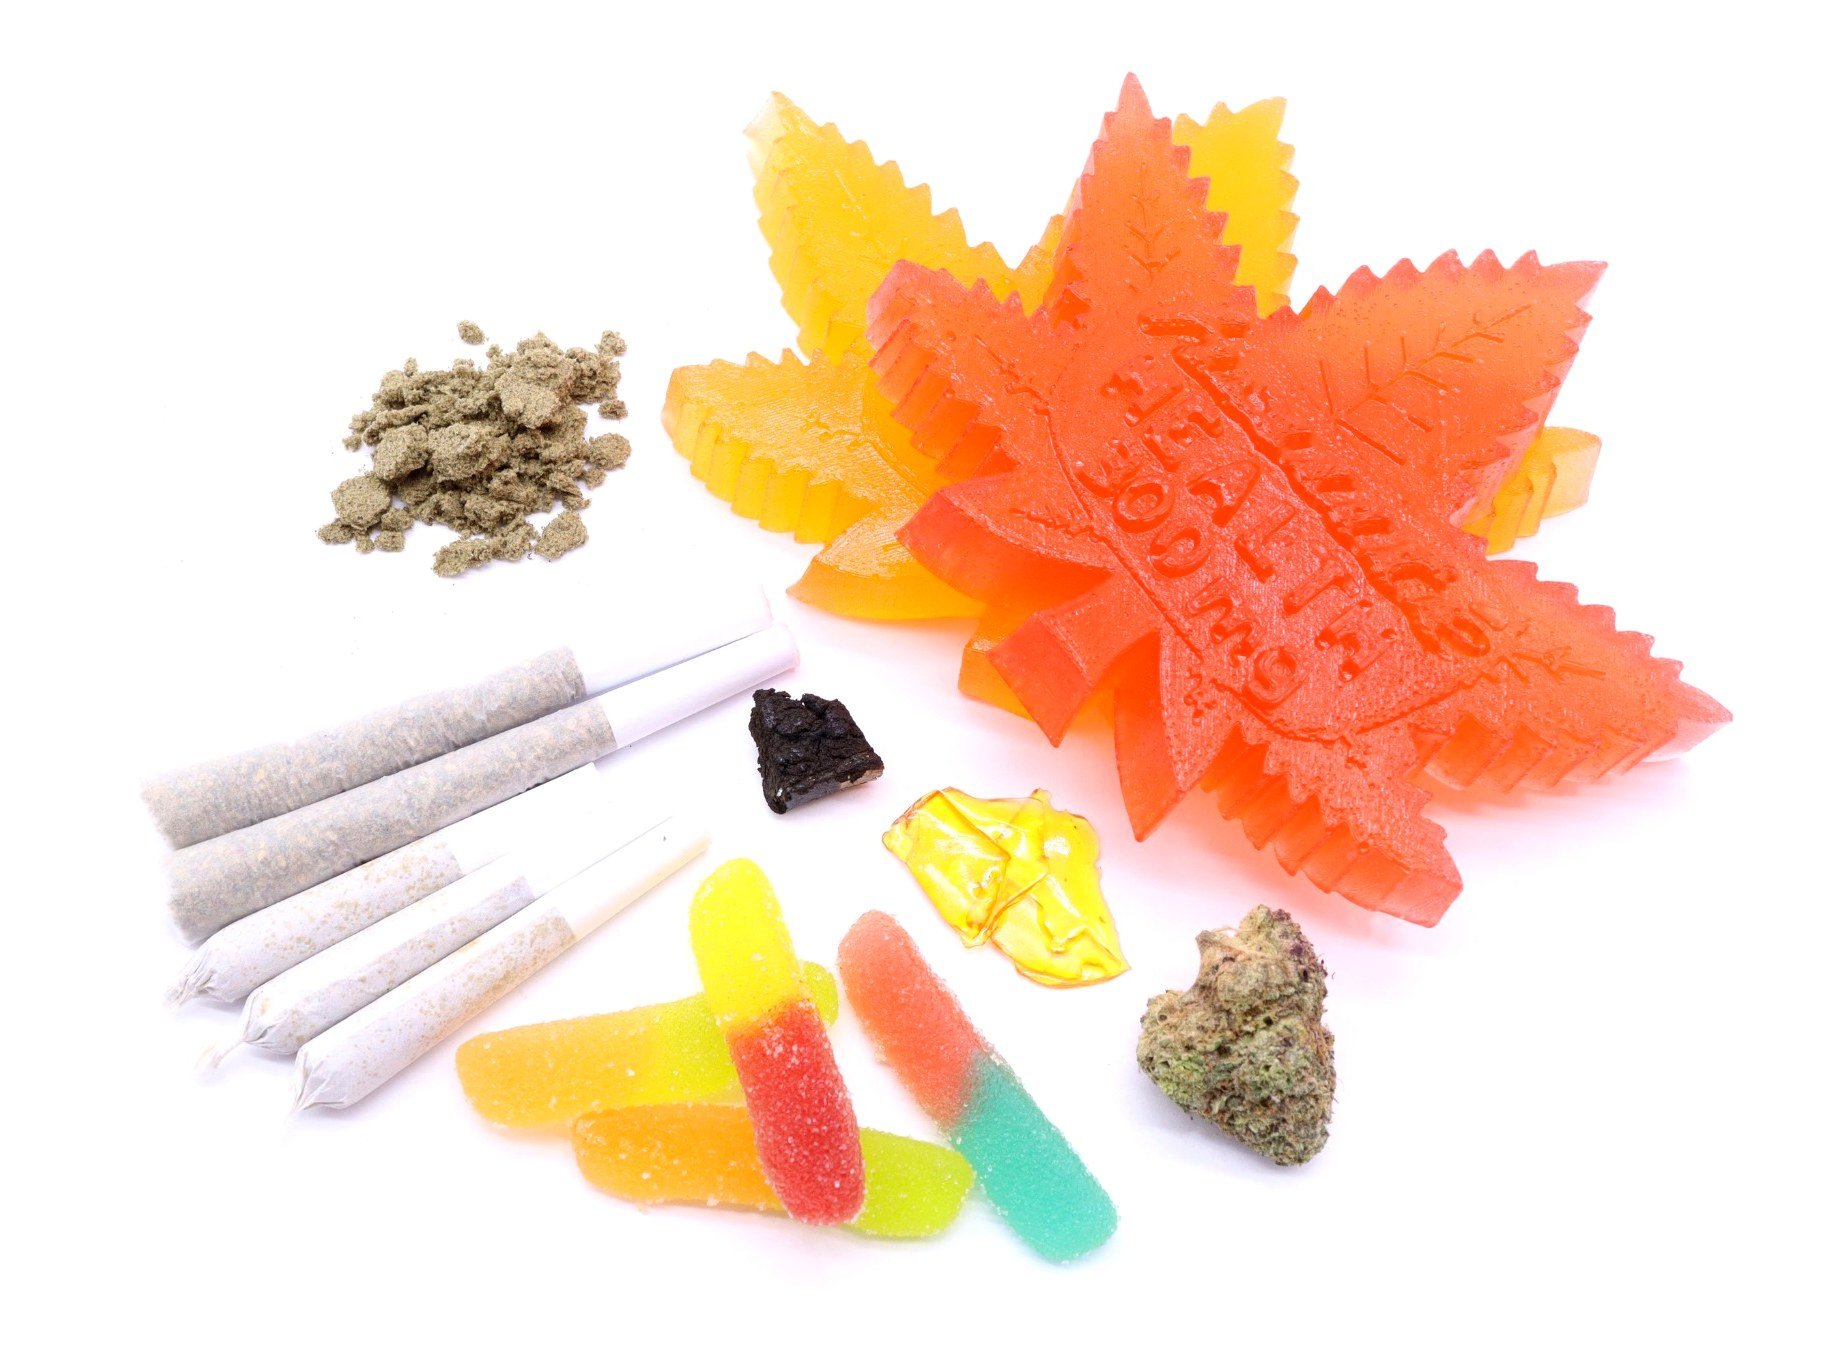
Weed Chocolate Recipe Canada: How to Make Edibles You Won’t Regret
Making edibles at home can go one of two ways. Either you’re a culinary legend who whips up treats your friends talk about for years, or you end up on the couch questioning if time is real. With the right weed chocolate recipe, you’re looking at smooth sailing… and smooth snacking.
We’re keeping this simple, cheap, and Canadian-approved. No advanced baking skills. No equipment you don’t already have. Just pure, chocolaty goodness with a buzz.
Why Make Weed Chocolate at Home?
Let’s be honest. Store-bought edibles are fine, but sometimes you want control.
• You pick the strain.
• You decide how strong.
• You make it taste exactly the way you like.
Plus, in Canada, the legal limit for edibles in stores is 10mg THC per piece. At home? You decide if it’s 10mg, 50mg, or “better clear the weekend schedule.”
And there’s something about homemade weed chocolate that feels special. You made it. You infused it. You’ll take all the credit when your friends say “this is unreal” between mouthfuls.
What Is the Easiest Weed Chocolate Recipe in Canada? (Snippet-Ready Answer)
The easiest weed chocolate recipe in Canada uses melted chocolate chips, cannabis-infused butter, and silicone molds. Melt chocolate, stir in cannabutter, pour into molds, chill, and enjoy responsibly.
The Secret Weapon: Cannabutter
This recipe starts with cannabutter. If you’ve already got a batch ready, you’re ahead of the game. If not, here’s the quick method:
-
Decarb your weed: Break up your bud (don’t grind it into dust), spread on a baking sheet, and bake at 240°F for 30–40 minutes. This activates the THC.
-
Simmer with butter: Melt butter on low heat, add your decarbed cannabis, and simmer for 2–3 hours. Stir occasionally.
-
Strain: Use cheesecloth to remove plant material. Chill the cannabutter in the fridge.
Full guide here: How to Make Cannabutter in Canada (internal link).
Ingredients for Weed Chocolate
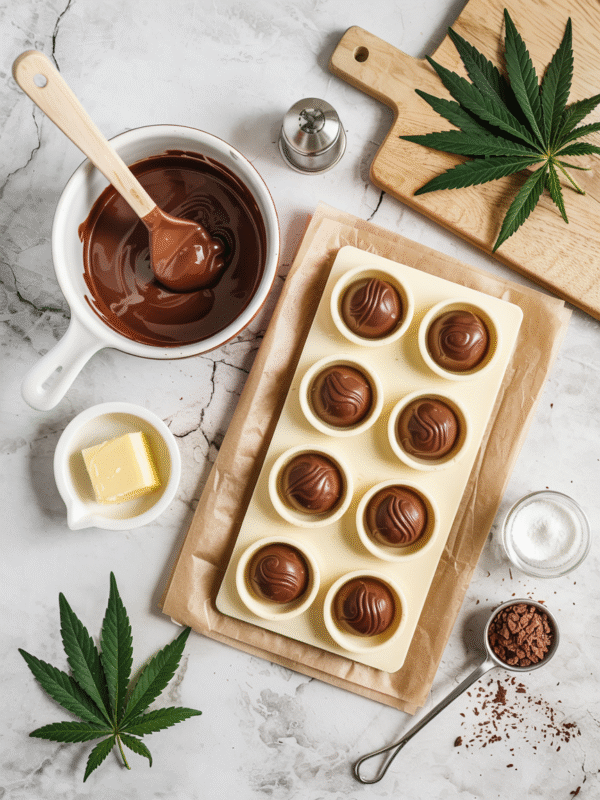
• 1 cup cannabis-infused butter (cannabutter)
• 2 cups chocolate chips (milk, dark, or white)
• Silicone molds or ice cube trays
• Spatula
• Double boiler or microwave-safe bowl
Step-By-Step Weed Chocolate Recipe
Step 1: Melt the Chocolate
Double boiler for the pros. Microwave in 20–30 second bursts for the rest of us. Stir between intervals so it melts smooth and doesn’t burn.
Step 2: Mix in Cannabutter
Once chocolate is melted, stir in the cannabutter. Mix well so every bite has the same potency.

Step 3: Pour into Molds
Silicone molds give you nice, consistent portions. Ice cube trays also work. Avoid pouring onto a random plate — you’ll regret the mess.
Step 4: Chill
Fridge for 1 hour or freezer for 20–30 minutes. Resist “testing one” too early — the chocolate needs time to set.
Potency: Doing the Math
If your cannabutter contains 500mg THC total and you use 1 cup in this recipe, and you make 25 chocolates, each piece is about 20mg THC.
THC Dosing Quick Chart
| Experience Level | THC Per Piece | Effect Window |
|---|---|---|
| Beginner | 5–10mg | Mild buzz |
| Casual user | 10–20mg | Functional high |
| Regular edible enjoyer | 20–40mg | Strong high |
| Veteran | 50mg+ | Cancel your plans |
More on safe dosing: THC Edible Dosing Guide (internal link).
Flavour Hacks for Your Weed Chocolate
Plain is fine. Stoner gourmet is better:
• Maple syrup drizzle — keep it Canadian
• Crushed candy canes — Christmas party hit
• Sea salt sprinkle — fancy restaurant vibes
• Peanut butter swirl — for Reese’s addicts
• Espresso powder — for the “wake and bake” crowd
• Mini marshmallows — s’mores without the campfire
The Science Bit: Why THC and Chocolate Work Together
THC is fat-soluble, which means it binds to the fat in butter. The butter then delivers the THC into your system when you eat it. Chocolate adds more fat, plus sugar, which helps mask the weed taste.
Canadian Stoner Culture Moments
Weed chocolate fits right into our national traditions:
• Watching Trailer Park Boys reruns
• Sitting by a backyard fire pit with a toque on
• Sharing before a Tragically Hip listening party
• Bringing a batch to Algonquin or Banff camping trips
• Eating one before shoveling snow (not recommended, but funny once)
When to Eat Weed Chocolate
Edibles take 30–90 minutes to kick in and can last up to 8 hours.
Best times:
• Movie night
• Game marathons (Mario Kart + weed chocolate = chaos)
• Snow days
• Before a festival (pack extras, watch dosage)
• Lazy Sunday mornings with coffee
Troubleshooting Your Edibles
• Chocolate won’t set — Too warm or too much butter. Chill longer.
• Uneven potency — Didn’t mix enough. Stir well.
• Weed taste too strong — Use better bud or flavour boosters.
• Overpowering high — Cut pieces smaller and label clearly.
Mistakes to Avoid
• Overdosing — start low, go slow
• Poor storage — airtight container in fridge or freezer
• Mixing with booze on first try — bad combo
• Serving without warning — always tell people
Storage Tips
Fridge: 2–3 weeks
Freezer: 6 months
Room temp: Not ideal — butter melts
Cost vs Store-Bought
Store edibles in Canada average $5–$8 for a 10mg piece. Homemade can be under $1 each with quality bud.
Best Strains for Weed Chocolate
• Chill: Pink Kush, Death Bubba
• Active: Sour Diesel, Jack Herer
• Balanced: Blue Dream, White Widow
Weed Chocolate Party Etiquette
• Label the batch clearly
• No peer pressure
• Offer non-infused snacks
• Share recipes like a good Canadian neighbour

FAQ: Weed Chocolate Recipe Canada
Q: How long does weed chocolate last?
A: Up to 3 weeks in the fridge or 6 months frozen.
Q: Can I make weed chocolate without butter?
A: Yes, use cannabis-infused coconut oil instead.
Q: What’s the legal limit for homemade edibles in Canada?
A: Personal possession is fine; store-bought is capped at 10mg THC per piece.


